Install the Icebreaker Agent
The Icebreaker Agent is a Rust binary that runs as a pod in your EKS cluster. It connects to Icebreaker’s control plane over WebSocket, receives desired state, and reconciles it into your cluster as Data Server Deployments, Services, Ingresses, and Karpenter NodePools.
You install one Icebreaker Agent per Kubernetes cluster you want Icebreaker to manage. Setup has two parts: first you create the Agent in the Admin console to get its token, then you deploy it into your cluster with Helm and pass that token to it.
1. Create the Agent in the Admin console
Section titled “1. Create the Agent in the Admin console”Sign in to the Icebreaker Admin console.
https://console.icebreakerdata.comSelect your Account from the Accounts list.
Navigate to Icebreaker Agents in the left navigation.
Click + New Icebreaker Agent.
Enter a name. The common convention is to mirror your EKS cluster naming so it is easy to map (e.g.,
prod-eks,staging-eks).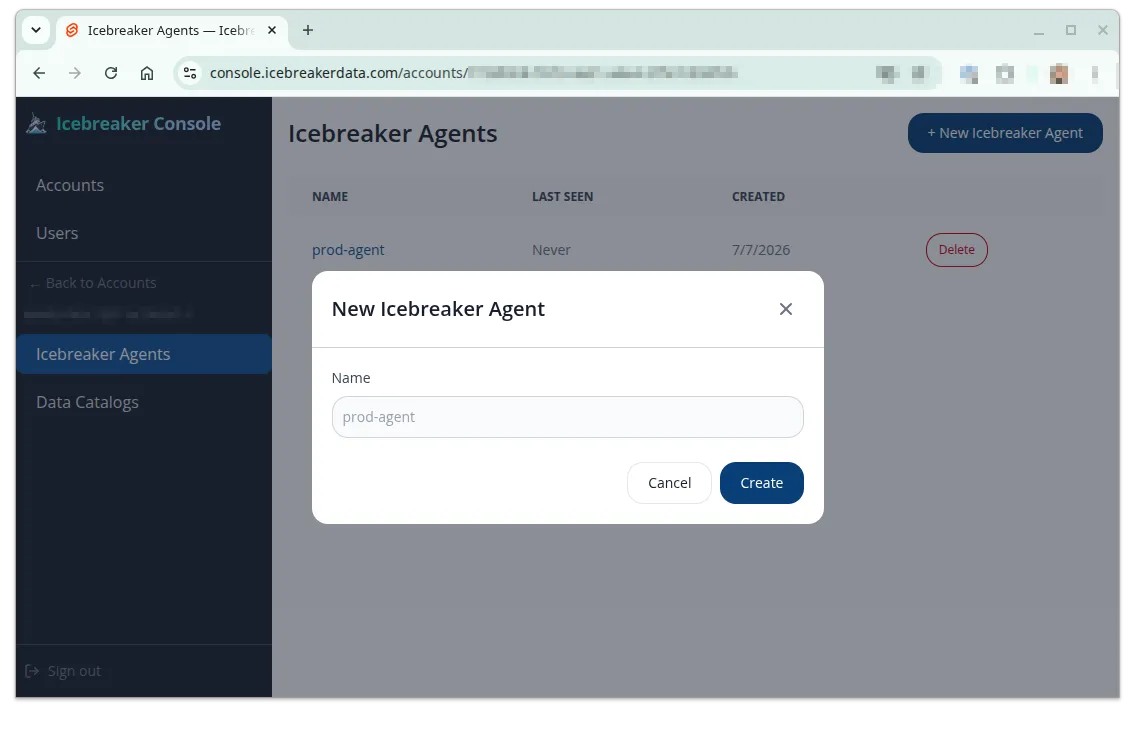
Click Create.
Copy the token shown on the confirmation screen and store it securely. You will paste it into Helm values in the next section.
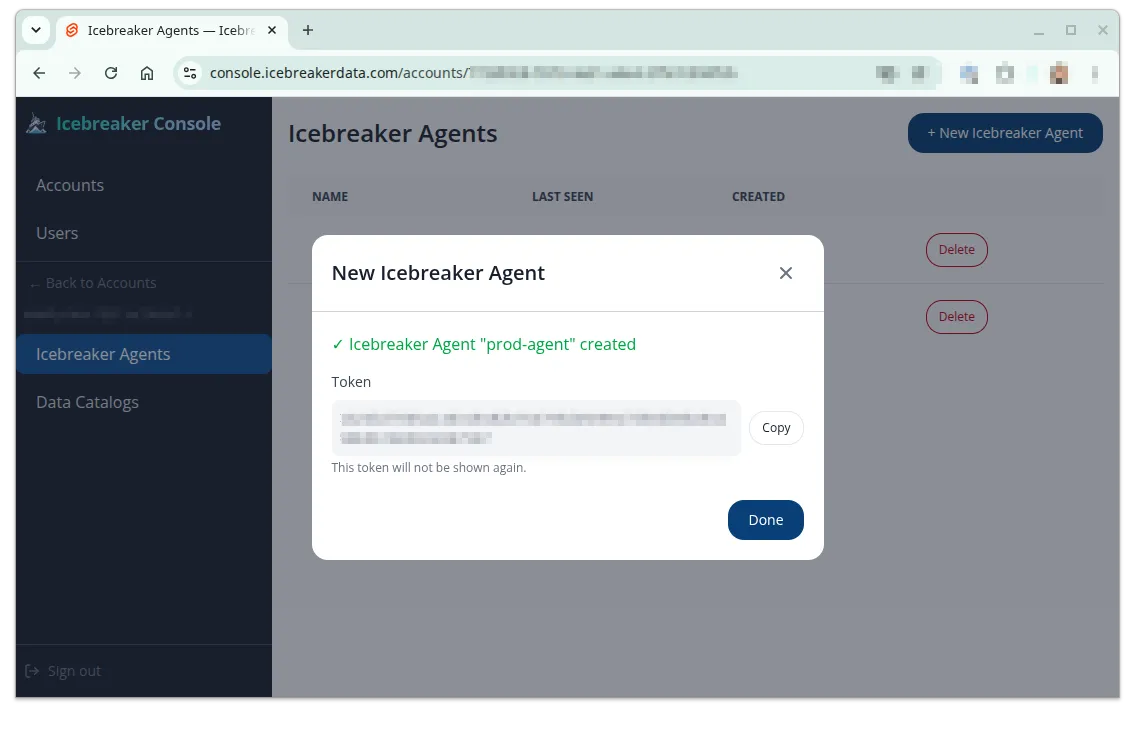
The Agent appears in the list with Last Seen: Never. This is expected — nothing has authenticated with its token yet. The status updates once you deploy the Agent below.
2. Deploy the Agent into your cluster
Section titled “2. Deploy the Agent into your cluster”Before you install
Section titled “Before you install”Verify the workload namespace exists.
Terminal window kubectl get namespace eyrie-computeIf it does not exist, create it:
Terminal window kubectl create namespace eyrie-computeConfirm registry access. Pulling the Icebreaker Agent image needs two things in place:
- Icebreaker side: your Icebreaker contact grants your AWS account ID pull access on Icebreaker’s private ECR registry during onboarding.
- Your side: the
icebreaker-ecr-pullIAM policy is attached to your EKS node IAM role — see ECR image pull access.
If either is missing, the Icebreaker Agent pod will show
ImagePullBackOffat step 4 below.Have the following values ready before running the install commands.
Value Where to find it ACM certificate ARN (ALB mode only) AWS Console → Certificate Manager → your certificate → ARN field. Or: aws acm list-certificates --query 'CertificateSummaryList[*].[DomainName,CertificateArn]'.Ingress domain (nginx mode only) The base domain you control where you have (or will create) a wildcard DNS record, e.g. ds.example.com.Wildcard TLS Secret name (nginx mode only) The name you gave the kubernetes.io/tlsSecret when you stored your wildcard certificate in theeyrie-computenamespace.
Have the Icebreaker Agent chart tarball ready. During the early-adopter phase, your Icebreaker contact sends the chart as a
.tgztarball attached to the onboarding email — e.g.,eyrie-agent-0.0.1.tgz. Save it to the directory you’ll runhelm installfrom. If you’re using AWS CloudShell, click Actions → Upload file in the top-right menu; the file lands in your home directory.Create a Kubernetes Secret containing the Agent token. Replace
<token>with the token you copied when creating the Agent above.Terminal window kubectl create secret generic icebreaker-agent-token --from-literal=token=<token> -n eyrie-computeInstall the chart with Helm. Pick the command that matches your ingress choice from prerequisites. Replace
<version>with the version from your tarball filename (e.g.,0.0.1).For AWS ALB Ingress:
Terminal window helm install icebreaker-agent ./eyrie-agent-<version>.tgz --namespace eyrie-compute --set agent.existingSecret=icebreaker-agent-token --set agent.albIngress=true --set agent.albCertificateArn=<your-acm-certificate-arn> --set agent.ingressDomain="" --set agent.ingressTlsSecret=""For nginx Ingress:
Terminal window helm install icebreaker-agent ./eyrie-agent-<version>.tgz --namespace eyrie-compute --set agent.existingSecret=icebreaker-agent-token --set agent.ingressDomain=<your-ingress-domain> --set agent.ingressTlsSecret=<your-wildcard-tls-secret>See Agent configuration for the full reference of every Helm value, default, and required field.
Verify the Icebreaker Agent pod is running.
Terminal window kubectl get pods -n eyrie-computeYou should see an
icebreaker-agent-eyrie-agent-*pod inRunningstatus within ~30 seconds.Verify the Icebreaker Agent has connected. Return to Icebreaker Agents in the Admin console. Its Last Seen value should change to Just now within a few seconds.
What you have at this point
Section titled “What you have at this point”- One Icebreaker Agent, created in the Admin console and running in your private EKS cluster, authenticated to the Icebreaker control plane.
- The Last Seen value for that Agent in the Admin console shows “Just now” (or a recent relative timestamp like “2 minutes ago”).
- Icebreaker can now push desired state (Capacity Policies, Data Servers) to your cluster.
Continue to Set up a Data Server.